Well the last few days I have been finishing up all the small pieces and getting everything ready to assemble the hull. I cut out the giant bottom panels. First I cut out one panel, then rough cut the second. Next I ran a router with a pattern cutting bit so both panels matched. Finally, I ran a belt sander with that nasty 36 grit belt all the way around to make them smooth and fair. Here is a before and after.
Those panels are right around 30 feet long. Notice the can of insect repellent? The mosquitos are horrible!
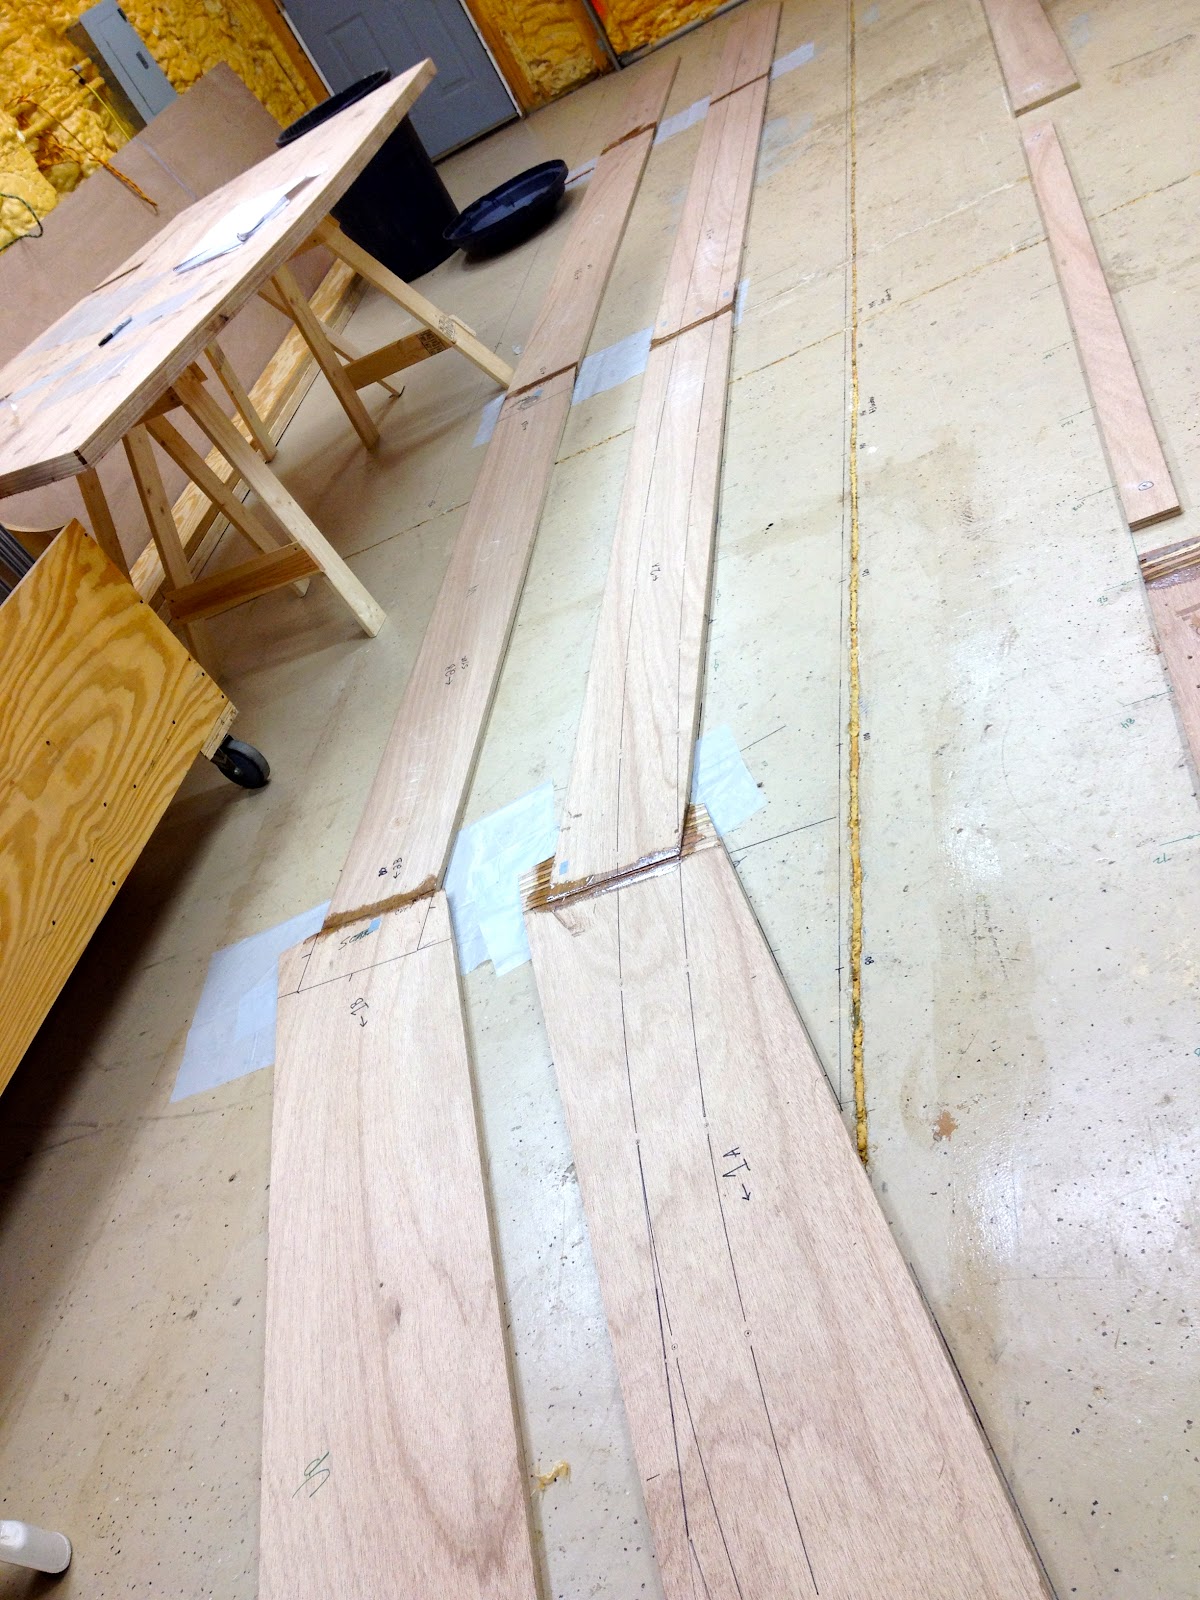
Then I made the chine flats. I did not make them according to the Great Alaskan manual, or the Tolman skiff manual. I figured I knew how to make them better. I hope that I was right.....
First I lofted the chine flats out on my shop floor with a sharpie. Then I took my 8 foot long pieces of 3/4 ply that I had ripped down to 14 and 10 inches wide and started laying them out until they covered the lofting. Then I marked them up where they overlapped and cut more scarfs. Cutting scarfs really sucks! I used the dust collector though, and the dust collector on this Harbor Freight planer gets about 99% of the sawdust. Amazing Tool!
I glued up the panels at the scarf joints and then put one of them back into the same location as the boards were aligned originally. Then I re-lofted the lines back onto the wood. I almost missed one of the marks, but it did line up fine.
I cut out the lofted lines with a circular saw, both the inside and outside curves. The saw cut them out perfectly, much smoother and faster than the jigsaw would have. Then I put the first chine I just cut out on top of the other blank and traced the outline slightly larger and cut it out with the circular saw. Finally I matched the two blanks back up and ran the router with the patter bit around again to get a perfect match.
I have never read about anyone using this idea, but it does seem to yield a nice part. If you spend your time making the first part really smooth and fair, then rough out the second, then follow with a router bit, it seems to save a lot of time from having to try to smooth and sand two thicker blanks that are screwed together. To rough out the second I just screwed the first part on top of the second, then used a sharpie to trace the line, the cut the part out slightly outside the line. This yielded about 3/32" for the router to trim off. This was a hell of a lot faster than trying to belt sand the two parts together.
OK, now I have made the stem, the two bottom panels, the two chines, the two shelves and the transom. Also I have the jig and the molds ready. Guess what...now it is time to put the pieces together and make a boat hull!


No comments:
Post a Comment