Friday, December 28, 2012

A lot of little things accomplished....

Well, the last month has resulted in a lot of little jobs getting completed.

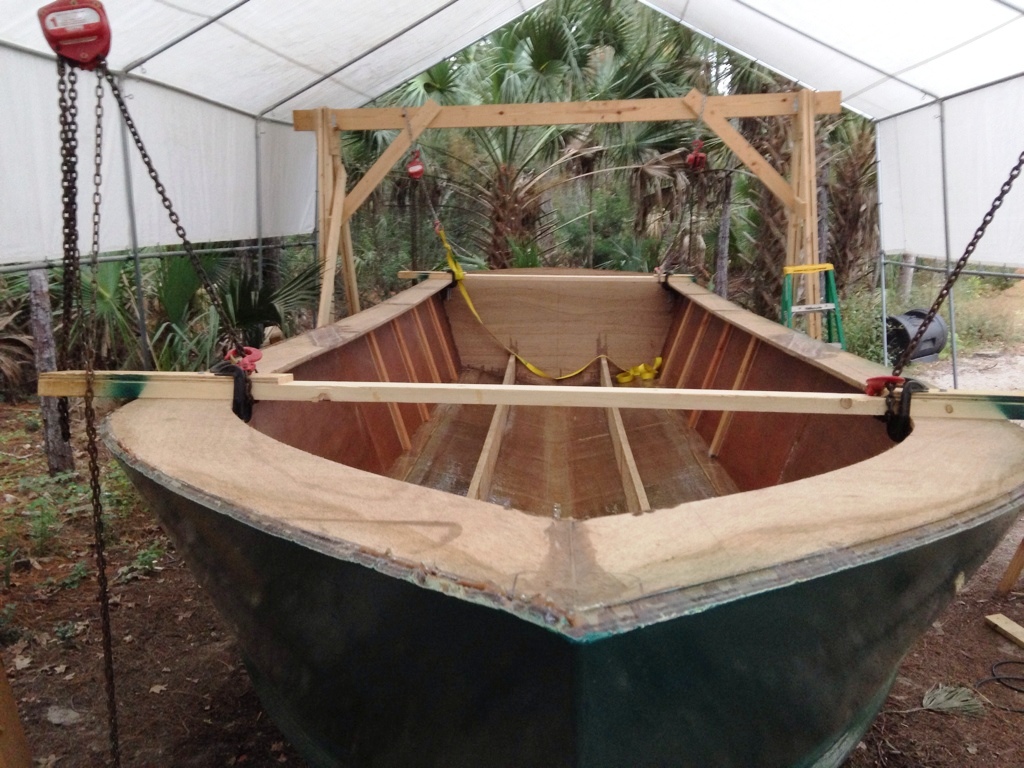
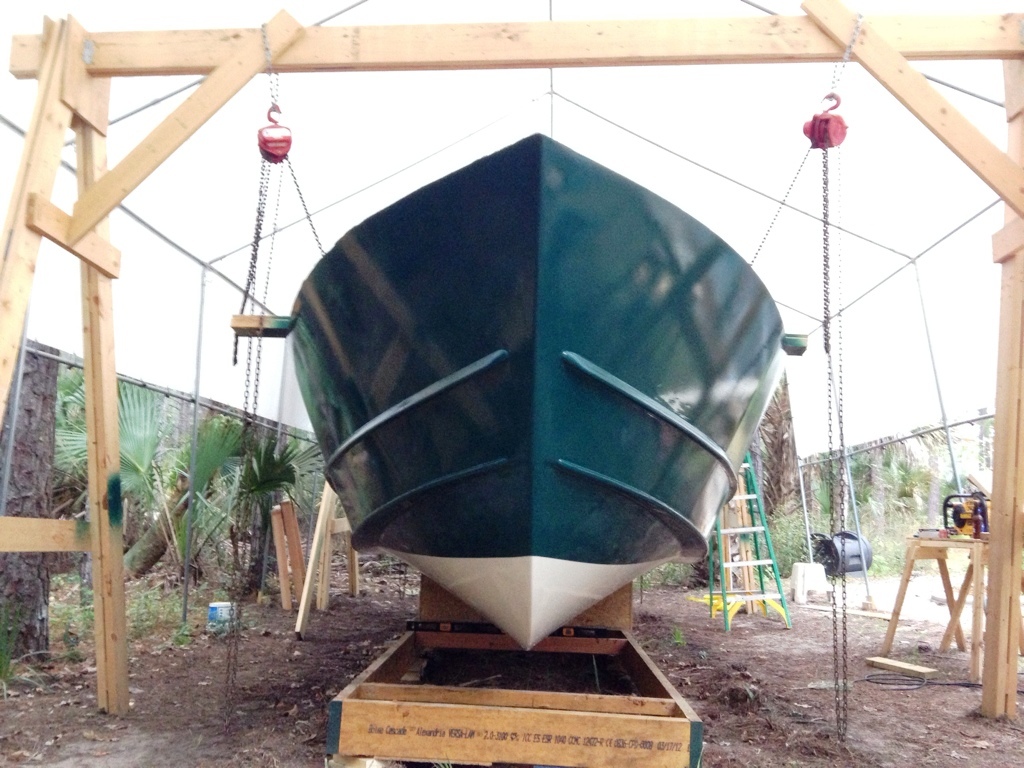
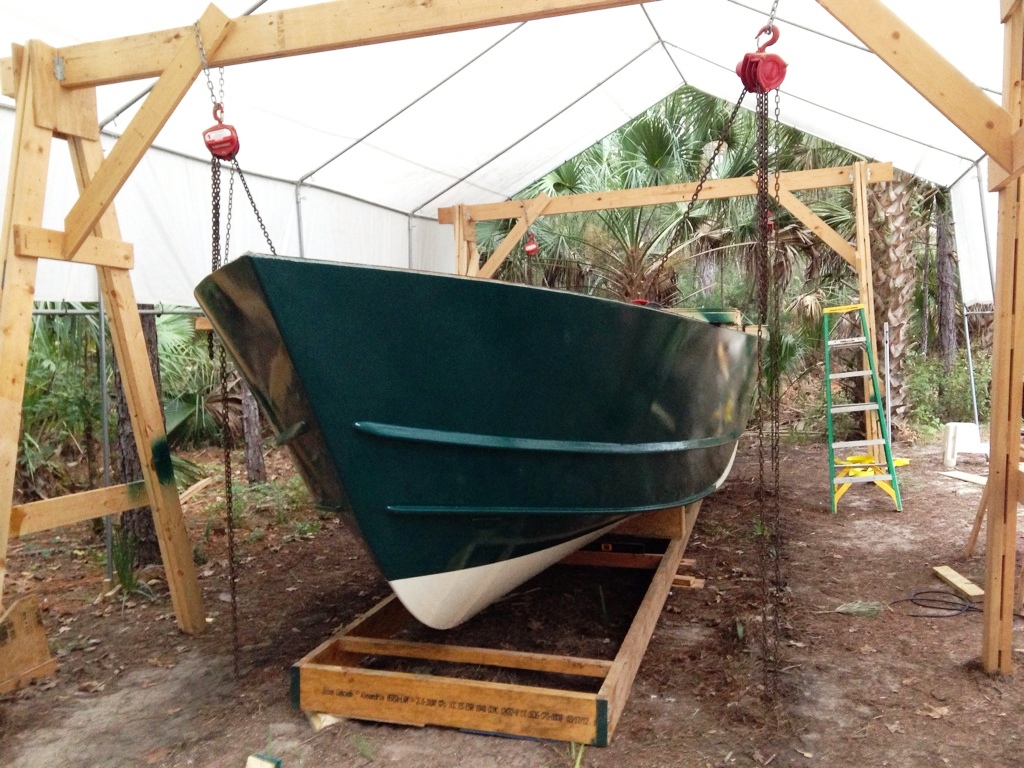
After getting the boat flipped over, I had to level out the jig and put some v shaped forms underneath to set the boat on.  Then I could get to work on finishing the inside of the bare hull.

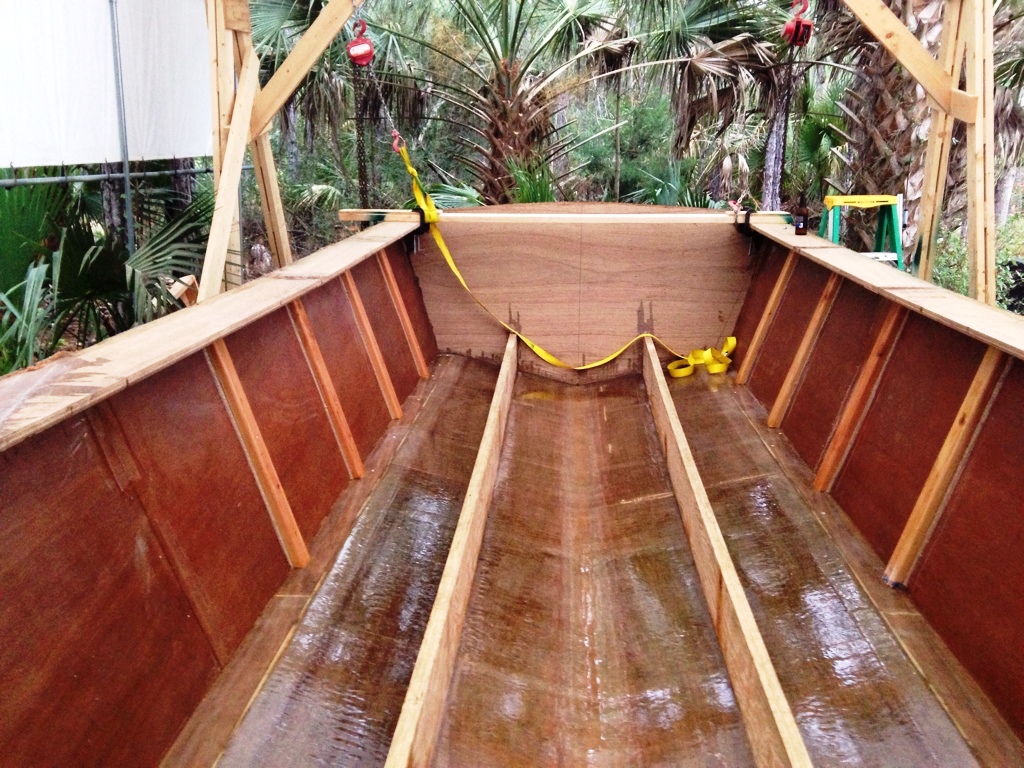
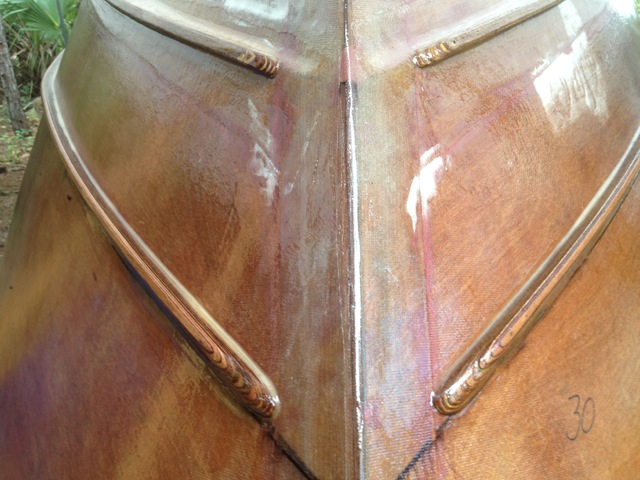
First up was fiberglassing all the interior seams, and there are a lot!  I had to fiberglass the chine/side seams, the transom seams, the stringers to the bottom and finally the tops and sides of the stringers.

This was done with heavy fillets followed buy 4 inch tape, 6 inch biax tape and 8 inch tape.  Around 200 feet of fiberglass tape in all.


Fiberglassing of all the interior seams took the better part of two days.  I ended up with a lot of bubbles that i had to repair.  Most of the larger ones I filled with epoxy with a syringe and a large needle.  The smaller ones I just left.

With that out of the way, I moved on to filling in all the screw holes from installing the front bow panels.  You can see all the white dots, this was from using silica thickened epoxy.


Now it was time to drill a very large hole in the boat.  It was time to install the main drain for the boat.  I made a drain tube by wrapping fiberglass around a PVC pipe covered in wax paper to get an exact 15/16" inside diameter.


I used a 1-1/8" hole saw so I would have room for some epoxy filler.

I drilled the hole most of the way through from the inside first, then when the pilot bit broke through on the outside, I started from the outside so the hole saw would not "blow out" badly.  I started the outside hole by running the holesaw in reverse and it started very smoothly.


After that, I just filled with epoxy.  Came out great.

Next I drilled the holes for the front bow eye and sealed the inside with epoxy.  It should be a solid bow  eye, it is 1/2" 316 stainless.


Tomorrow I am going to wash the inside with ammonia and then put on a couple of final coats of epoxy on the entire inside of the hull.  Today I went and picked up the MDO plywood I am using to build the inside structure.  After I get through putting on the final epoxy coats on the inside of the hull, I am going to start building the inside, starting at the front.  Hopefully there will be some good progress in the next couple weeks.

Wednesday, November 28, 2012

We got the boat flipped over and sitting upright

Well, last week we got the boat flipped over and sitting upright.  I decided to use 4 chain hoists on my A frame lifts instead of having a bunch of people come over.  I figured someone would have too much to drink and end up getting crushed under the boat!

Well, I didn't take any pictures of the actual flip, because I was trying to do it by myself and I was nervous.

About halfway over, with one side of the boat 10 feet straight up in the air and stuck, I called Johnnie for some help.  I had one side of the boat stuck in the dirt and the other side stuck on the A frame.

John came over and promptly told me to cut off about a foot of my 2x6 boards that were bolted across the gunnels and were currently dug into the ground.  A few minutes later with the help of Mr. Sawzall, the boards were cut, the boat was free and setting on the jig, right side up!


Saturday, November 10, 2012

I finally got the boat painted!

Well after about a month of weather delays, yesterday I got the boat painted.  I faired the boat as smooth as I was willing to go with it.  I used epoxy with microballons added as a filler.  Then I sanded, filled, sanded, filled.......Sprayed a heavy high build epoxy primer....Sanded, filled...Sprayed more high build epoxy primer....Sanded filled and sanded.

Here is the paint I used to cover the boat with.  Dupont's Imron.  I used the Imron 3.5 HG version.  This paint is an industrial coating designed for firetrucks, 18 wheelers, airplanes, buildings, bridges, marine structures.  The paint is very easy to work with, and very forgiving regarding temperatures and environment.   Subsequent coats burn into previous coats very easily, much like the old school lacquers.

The biggest drawback is the hazard from the fumes.  The VOC's in this paint are very nasty.  There are rumors that persons exposed to the fumes without protection have about a 20% chance of getting chemical induced asthma!  Needless to say, I wore a 3M respirator mask designed just for this purpose with Organic Vapor cartridges.  Here are the cartridges after spraying the green paint.
This 3m respirator worked fantastic, I could not smell ANY paint fumes while wearing it.  If you spray paint, get one of these!

First I put on the very bottom color, the part that will be under the water.  It is a nice light beige / cream color.  It is kind of hard to see in these pictures.

Next I masked off the waterline with the 3M green masking tape, then masked off the cream colored area with masking paper.

I put three coats of paint on the boat.  It took about 1 1/2 gallons of cream color, and about 1 1/3 gallons of the green color to paint three coats.

Now I just have to wait about a week for the paint to cure really hard, then we are going to flip this thing over and build the inside!


Friday, October 12, 2012

Epoxy Primer Sprayed - Big Yellow Banana Boat!

Yesterday I sprayed the Maxx Fill epoxy primer.  Everything came out very nice.  I can now clearly see the areas that I have to go back and fair in a little better.  Todd and John were right, now the primer is on you can see the good and bad areas much better.


Turned out very well, today I am going to start the final fairing process and get ready for the Hunter Green Imron paint.

Wednesday, October 10, 2012

Getting ready to spray some epoxy primer tomorrow on the hull...finally!

I have had a couple of long business trips this past month, and when I wasn't away at work, it seemed to be raining every day here in Florida.  Needless to say, the progress on the boat slowed down the last month.

However, I did finally get the hull ready to spray 2 part epoxy primer tomorrow!

I finished the spray rails and put two more coats of epoxy on the boat.  Then we went over the entire boat with the cheese grater (surform).  Then I gave it a scuff sanding with some 180 grit to get it ready for paint.


 Lovebugs have been everywhere!
 Here it is, just before the scuff sanding.  Basically ready for epoxy primer!

I have decided to use Imron 3.5 high gloss for the top coat paint.  After much research and studying MSDS's (real fun, I am an exciting guy, I know) I believe that marine paint and good quality urethane car paint is virtually identical, with the car paint being better in most cases.  The most durable and time tested paint for painting airplanes, firetrucks, 18 wheelers, bridges, buildings and industrial structures has been Dupont's Imron paint.  I figured if it was good enough for a 747 jet, it was good enough for my boat.

Also, there are many flavors of Imron paint.  From around $65 a gallon up to the $500 range.  The biggest difference is that the top dollar paints are available in the most striking colors and have the potential to have the nicest gloss and shine.  In order to realize this potential of a $500 gallon of paint, you need to be in a $100,000 spray booth and be using a $800 spray gun and have already done MANY hours of prep work.

Since I am painting outside, this would be a complete waste of money.  The Imron 3.5 High Gloss is a top quality industrial coating, designed for trucks, planes, bridges, marine structures and generally anything that needs a super tough, long lasting paint job.  This is a very economical paint.  The white with the activator is around $100 a gallon, and the dark green is around $160 for the gallon kit.  This is around half the price of a typical 2 part marine urethane paint.

Since my fairing job is not the greatest, and I am ready to move on with project and go fishing instead of filling and sanding, I decided (with advice from Todd and Johnny) to start spraying epoxy primer.  I went to the auto paint store and got 3 gallons of high build, 2 part epoxy primer.


 I am using Maxx Fill 2k epoxy primer, in Buff color.  I hope to get 3 coats on the boat and get a really nice, thick primer to hide the imperfections.  I am not using the spray gun in the picture.  I am going to try to use my HVLP Turbine spray unit that I use for my woodworking projects and see how that does.

I also got a substantial amount of work done on the livewell.  Here it it mocked up with the rod holders, cup holders, lid and tank in place.  I have an access door to service and operate the plumbing valves.  Probably the most complicated livewell around, but it should keep the fish alive!


 Tomorrow I will be spraying the epoxy primer, so hopefully I will have a giant yellowish colored boat this time tomorrow!

When I was in Connecticut, I saw this bait shop with the coolest sign outside.  Here it is, pretty cool, right?!