Wednesday, May 15, 2013
Not much progress on the boat build lately
I have been out of town lately on some extended business and personal trips. Not to worry though, the pilot house progress will continue as soon as possible!
Sunday, March 24, 2013
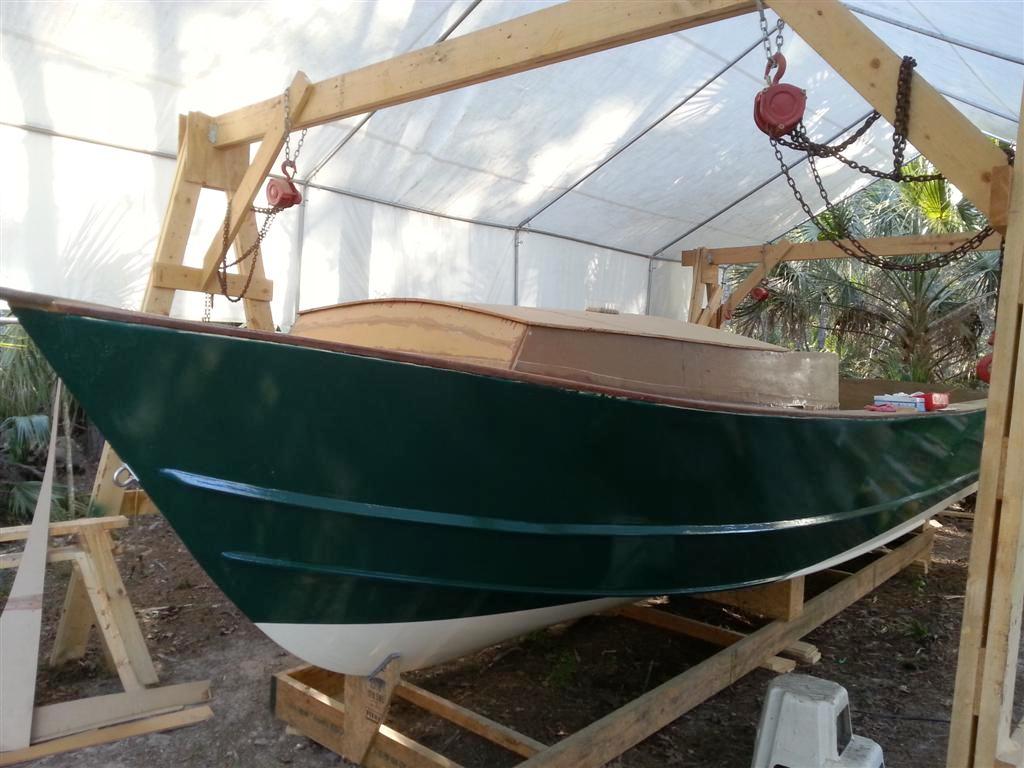
Cuddy Cabin is almost complete...needs paint
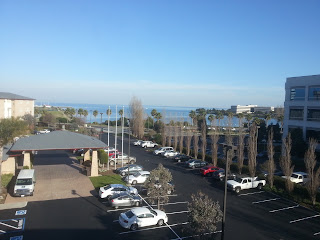
I have not gotten much work done on the boat in the last month. I was away on a business trip out to San Francisco for about 3 weeks. I had a great time and cant wait to get back! Probably one of my favorite places in the USA.
Here I am at Alcatraz Island overlooking San Francisco. Wind was fierce.
 Here is the view from my hotel overlooking San Francisco bay. The marina across the street is a great place to take a walk.
Someone remind me again why I live in a swamp full of mosquitos called Florida? Oh, the fishing right.
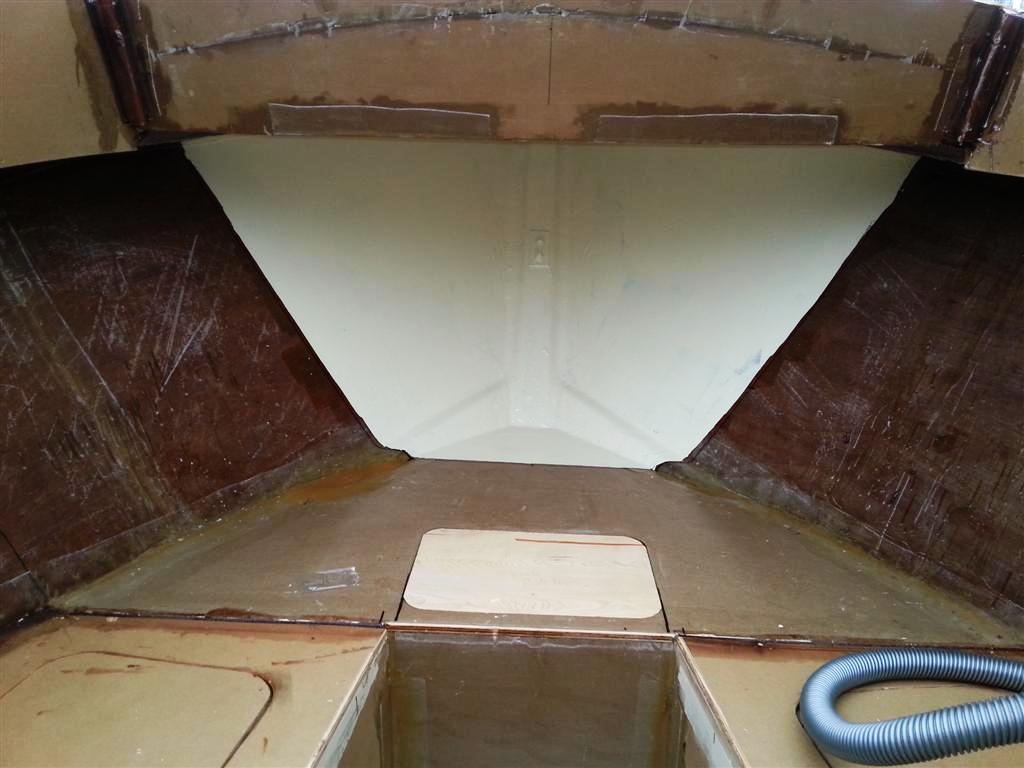
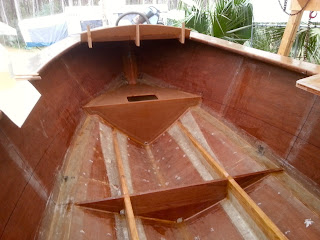
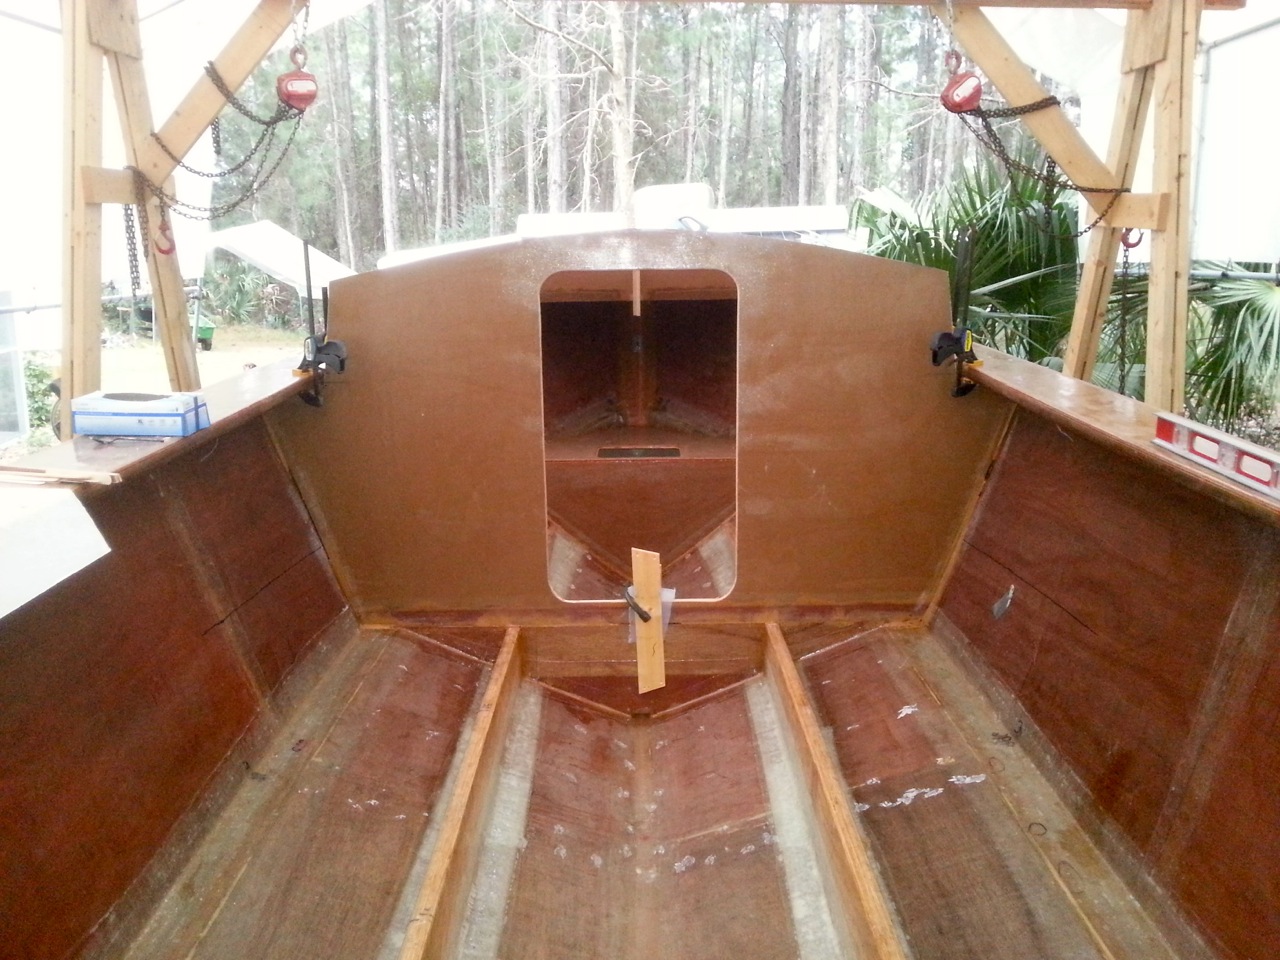
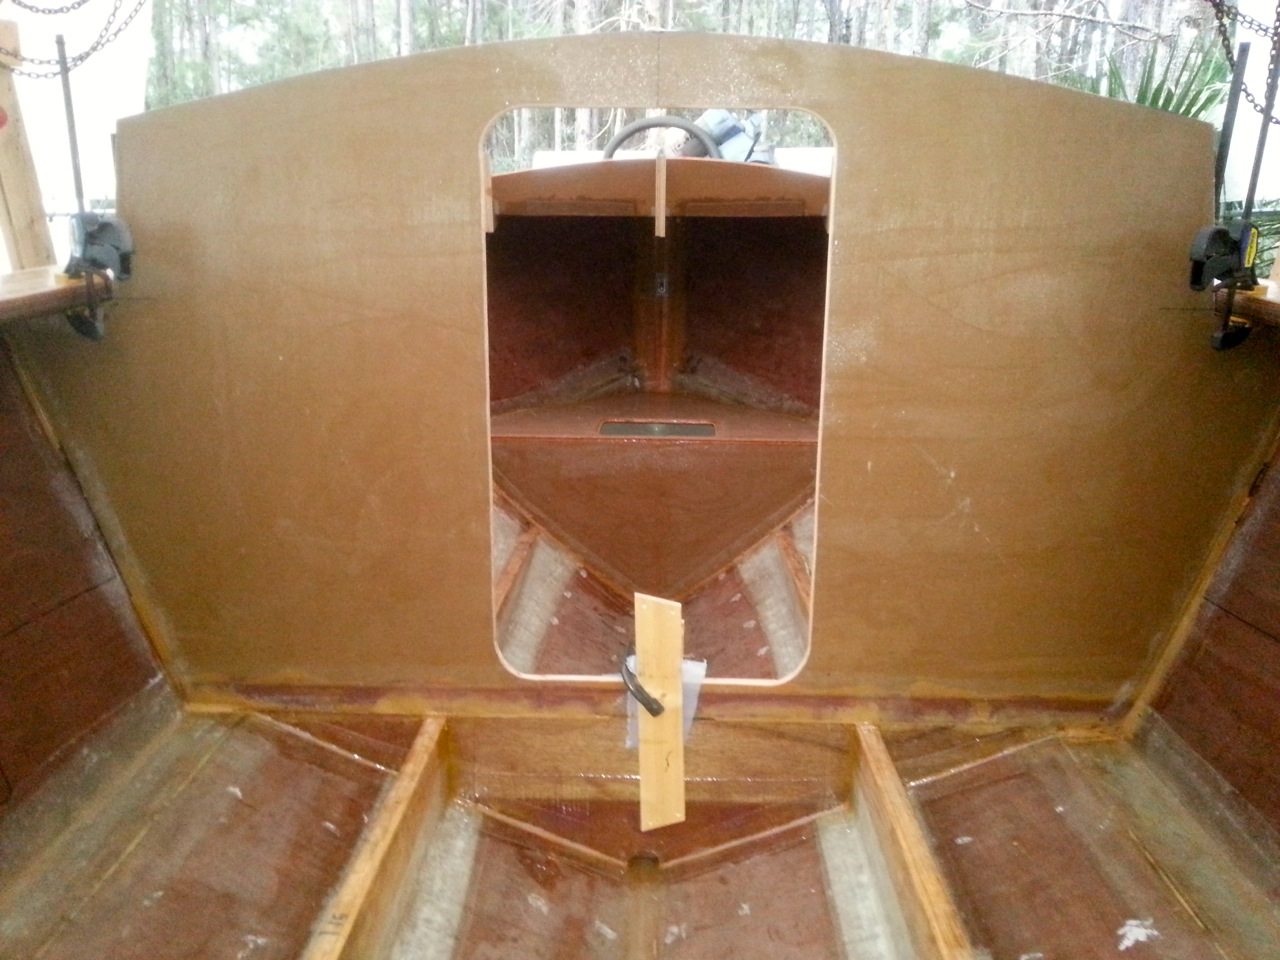
Here is the interior ready for final paint:

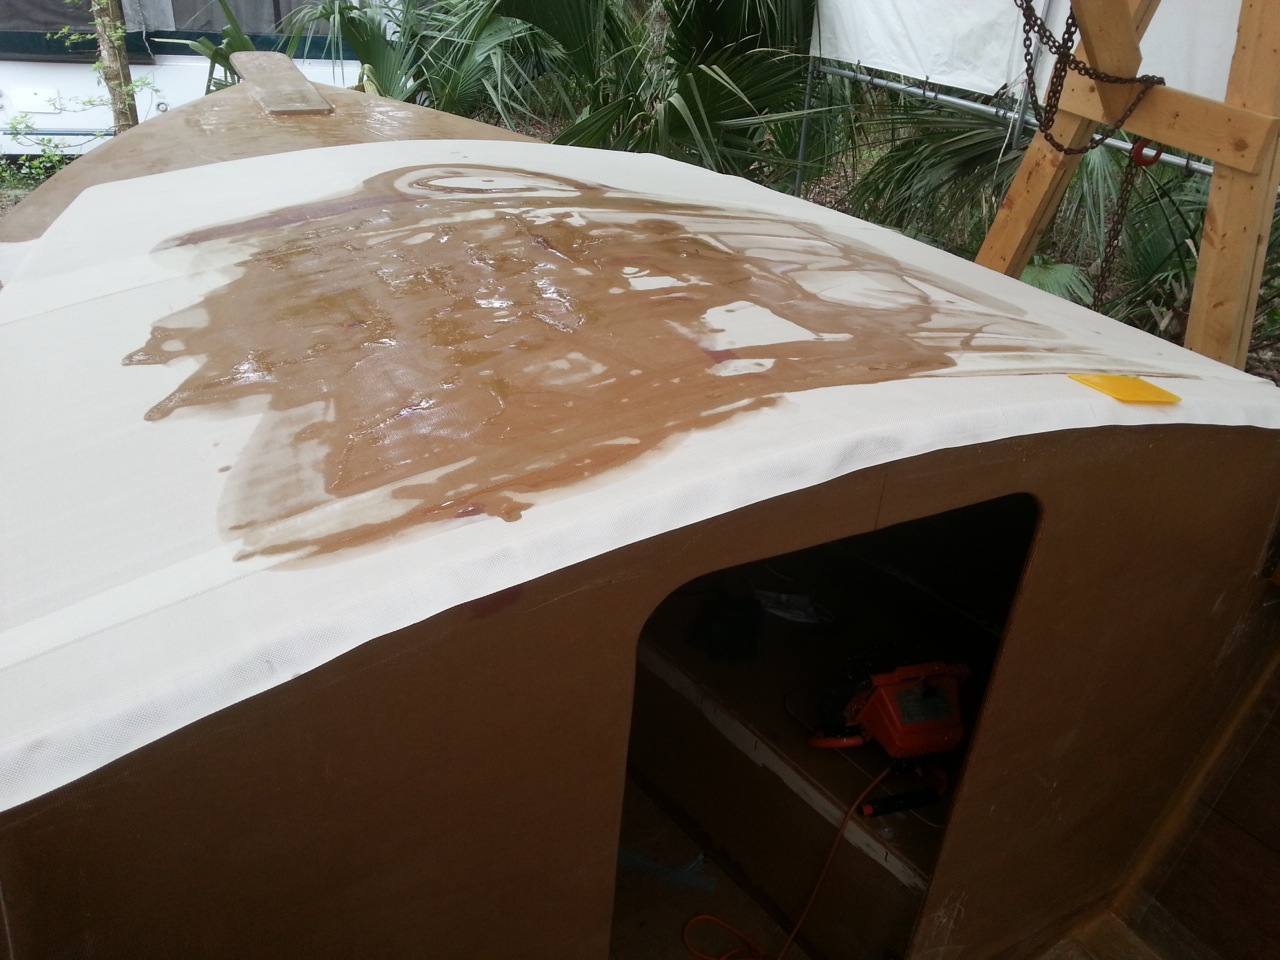
 Here is the roof after putting enough epoxy on to hold the cloth in place
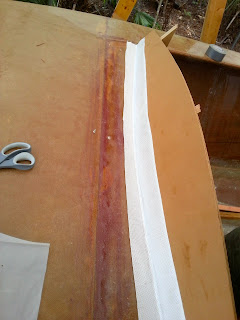
 Here is the overhang before trimming to about 2 inches.
Here I am at Alcatraz Island overlooking San Francisco. Wind was fierce.


Someone remind me again why I live in a swamp full of mosquitos called Florida? Oh, the fishing right.
Well, after not doing much of anything for a few days after I got back home, I did get a few things done.
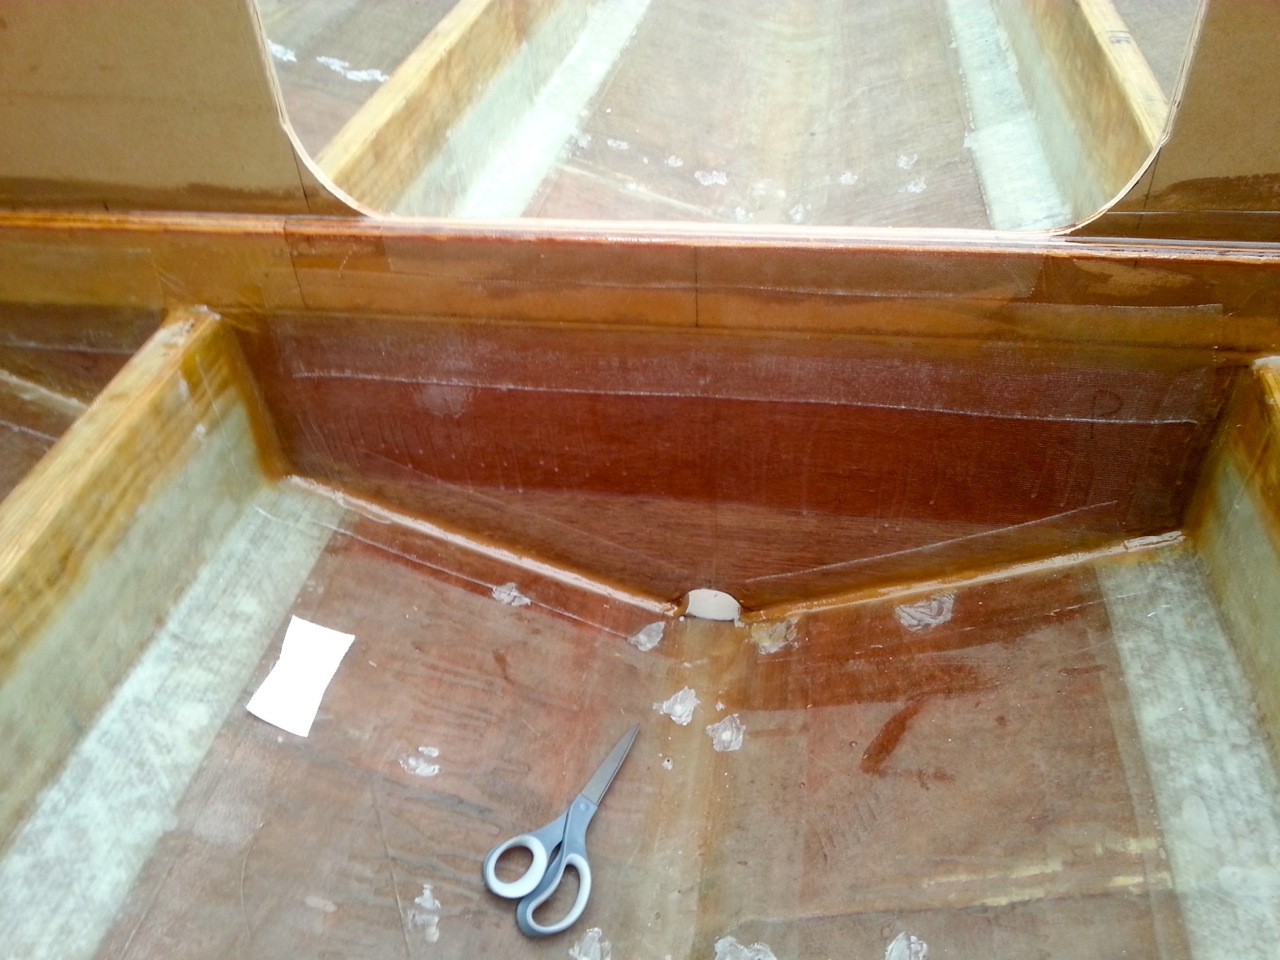
I filled all the seams and screwholes inside the cuddy with some glass microballons and epoxy and gave it a sanding. Now the entire interior of the cuddy cabin is ready for paint. The only problem was when went to paint this morning all my paint had turned to rubber. This is Glidden Poly Porch paint...I had been keeping it in a gallon plastic jug for ease of pouring, however, when I went to use it this morning it was like jelly. The cap was on tight, so I dont know why it happened. Oh well, $22 at Home Depot tomorrow will fix this....
Here is the interior ready for final paint:

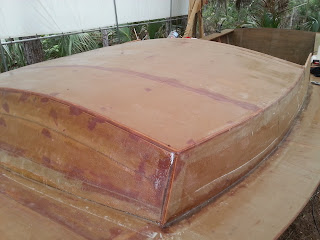
Well since the paint was dried up, I decided to fiberglass the top of the cuddy cabin roof. First I promptly cut two large piece of fiberglass cloth slightly too small (Dad always said measure twice cut once). So I recut two more to the right size.
I spent some time getting them to cover the roof the way I wanted it, with overhang all the way around. Then, because it was so windy, I pour out some epoxy and used the spreader to cover around 70% of the top with epoxy. This allowed the glass cloth to stay in position, and allowed me to trim around all 4 sides to get about a 2 inch over hang.
After that I just mixed, spread and repeat. With the exception of almost falling into the epoxy while I was trying to lean over to far...it went pretty quick and smooth!


Here is the cuddy roof all glassed in. You can't even see my handprint where I almost did a face dive into it...epoxy fixes all problems.
Next up is to get some paint and paint the interior of the cuddy. Then I will have to get more MDO plywood to start building the Pilot House!
Monday, February 25, 2013
Cuddy Cabin Looking Good
Well, the next step in continuing the cuddy cabin was to get the anchor well prepped and painted so that I could install the bulkhead between the anchor well and the cuddy cabin.
Tolman skiffs and Great Alaskan boats do not have an anchor well. They have a kind of "tub" in the front for holding the rope and anchor, usually in a milk crate. This is a great, simple solution, but I wanted something different.
I wanted a windlass on my boat, so I needed a large, deep well to hold the chain and rode. My solution was to simply make the front deck area flat, and put a bulkhead up to create the chamber.


Next I installed the three roof supports for the cuddy. I decided to install the anchor well bulkhead before putting on the roof.

The three roof supports are in and now it is time to put on the roof. I needed to scarf two pieces of plywood together for the roof. I decided to try a different method, and it worked great.
First I cut the scarf using my circular saw jig. I was using 1/2" plywood for the roof, so the saw did not cut all the way through, so I just finished cutting through with a pull saw. It went fast and worked great.
Next, I layed out 6 sawhorses so the two panels were supported. I put plastic under the spots on the horses where the epoxy would squeeze out.
I painted the joints with plain epoxy until they would not soak anymore in, then buttered them up with thickened epoxy glue.
What I did different was I screwed the first panel down to the sawhorses so it would not move, then placed the other panel in position . Then I screwed that panel down onto the horses. Finally, I used some fine threaded sheetrock screws to draw the scarf together and get the joint right. Then I used a scraper to spread the squeeze out back into the joint and scrape it flush.
When it dried, it was the smoothest and straightest scarf joint I had made yet.
Here are a couple of pictures. The first is the panels lined up on the horses. The second is a closeup of how smooth the joint turned out.


Now the roof is ready for glassing.
Next up is to glass the roof, clean up the inside of the cuddy and then paint it and it will be done! On to the pilot house after that!
Saturday, February 2, 2013
Getting a lot of work done on the cuddy cabin
I have been working on the cuddy cabin. Having a self leveling laser has been extremely helpful in this boat build. I have used it for numerous purposes, most recently for finding and marking the height of the bunks all around the inside of the cuddy cabin, and for marking the cut off line on the cuddy cabin sides. I highly recommend one!
 First up after getting the front collision chamber built it the front cuddy bulkhead. I wanted the bulkhead to be angled back at the correct angle, so I build these blocks out of plywood to hold it at the right angle.

 Here is the bulkhead after fitting, cutting and gluing in place.
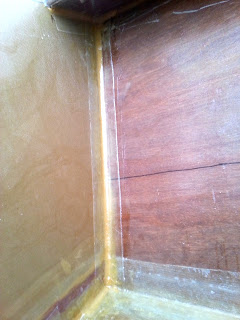
 Here it is about to get a little fiberglass tape.
 I also installed the blocking under the deck for the aft cuddy bulkhead. I had some leftover 1-1/4" plywood leftover from making the shelves, so this worked perfect. I made a template from cardboard, cut them out and glued them in.
I also installed some fiberglass drain tubes that I plan to leave a drain plug in them at all times. The only reason they will drain is if water somehow gets in the front cuddy, or if I have to wash it out.
 Next up is building the aft cuddy bulkhead. This was easier than I thought. I took several measurements using a laser "tape measure". Then I transfered the marks and the correct angles to a sheet of plywood and cut it out. I was almost a perfect fit the first try.


 Then I filled and taped all the seams and reinforced the area around the bottom of the door.


 Here you can see the doubler that I made as well. Instead of making this and installing seperately, I just attached it to the bulkhead and installed it as one piece.


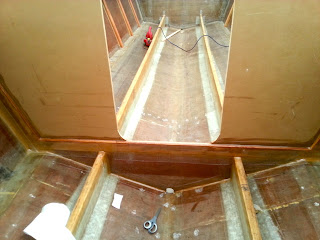
 Now it was time to start building the cuddy bunks, but first I have to put down a floor in the cuddy cabin. Making the template was once again easy with the laser level and a tape measure. I used the laser to shoot a level horizontal line where I wanted the floor to be and traced it out with a Sharpie. Then I took a bunch of measurements and cut out a floor from plywood. I glassed both sides of the floor.
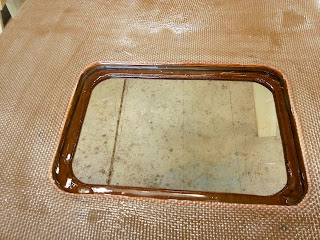
 I also wanted to make a drop in to use the small storage area under the cuddy floor. Here is a closeup of the drop in floor panel.
 I used some heavy 12 ounce woven roving for the topside to allow some non-skid effect.
I epoxied the floor in place with a heavy fillet around the edge and then taped it in. Very solid and sturdy.
 I did not put a stringer under the deck because it is rock solid without it. If I need one, I will put one in.
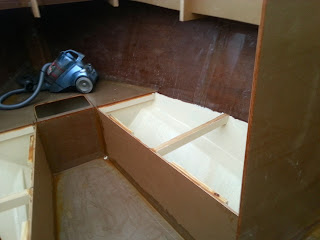
 Making the bunks was very straightforward. I used a straight piece of plywood and glued it in. Then I installed some blocking to support the top of the bunks.
 I also painted the inside of the bunks and under the cuddy deck. Now or never! I am using Glidden Poly Porch paint for most of this type of painting. Great paint.

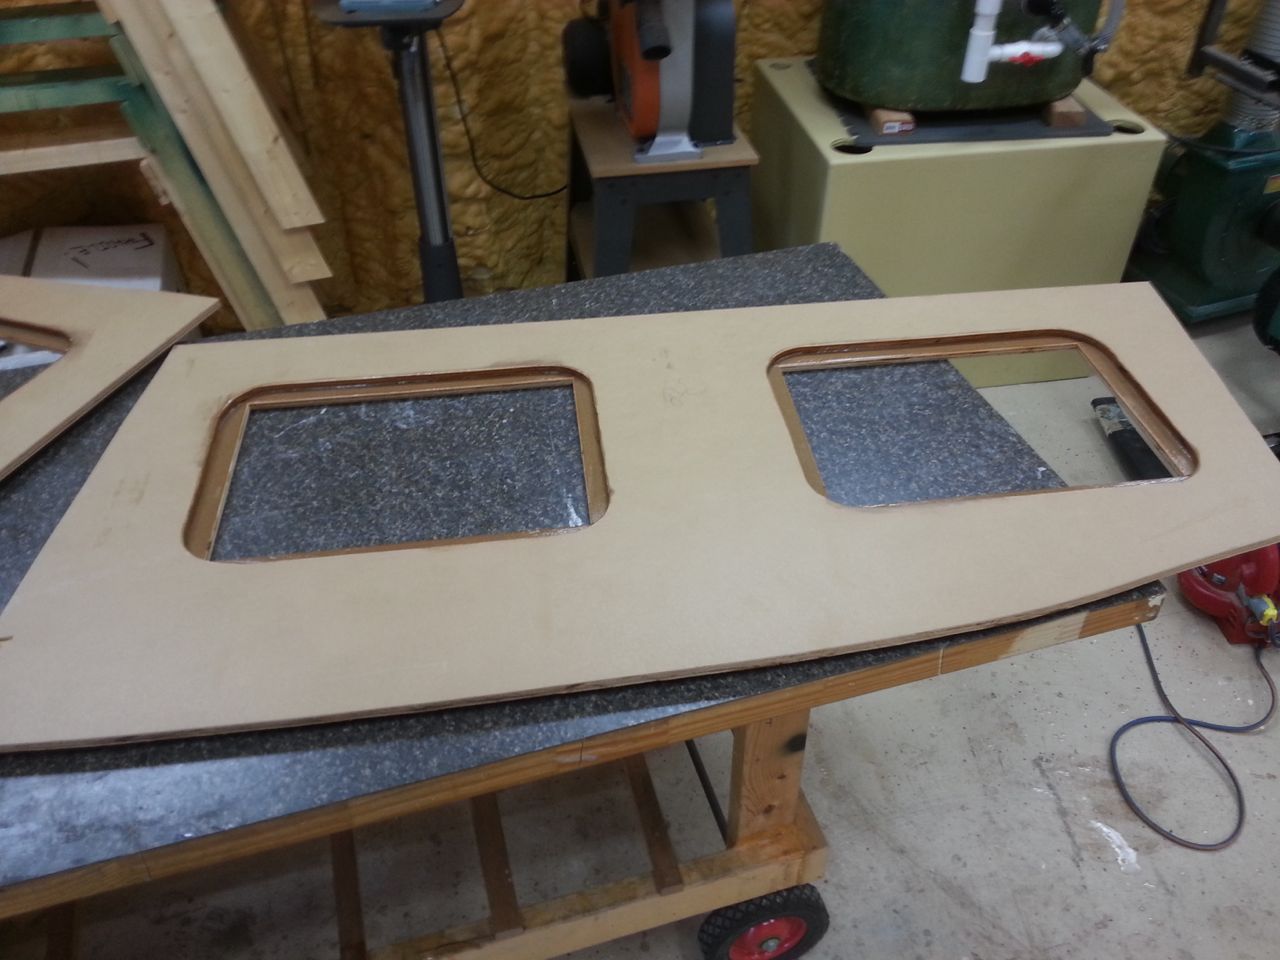
Finally I made the bunk tops. I made a template out of cardboard, then cut them out of plywood. I also added two drop ins on each bunk to allow storage underneath. I did not install them yet, but they are ready.
 Next up is to install the cuddy sides, and roof. Hope to get this done this week.


I also installed some fiberglass drain tubes that I plan to leave a drain plug in them at all times. The only reason they will drain is if water somehow gets in the front cuddy, or if I have to wash it out.


I epoxied the floor in place with a heavy fillet around the edge and then taped it in. Very solid and sturdy.


Finally I made the bunk tops. I made a template out of cardboard, then cut them out of plywood. I also added two drop ins on each bunk to allow storage underneath. I did not install them yet, but they are ready.
Saturday, January 12, 2013
Starting to build the superstructure
I have made some more good progress on the the build. 

First, here is a picture of the Bow Eye installation. I put in some biax fiberglass and then epoxied in an aluminum backer plate. Hopefully, the bow eye will never be an issue.

Next, I started working on the sheer decks (gunnels) and the front anchor locker. Instead of putting in a typical anchor splashwell that most Tolman style skiffs had, I put in a full anchor locker. I am using an anchor windlass with an anchor well to hold around 300 feet of rope and around 20 feet of chain. I made the typical splashwell a solid deck that the windlass will mount onto.


Here is the anchor pulpit. I have anchor roller that I will be using. Here is a picture of that.


I built the anchor pulpit out of 1-1/2" Meranti plywood glassed with biax.

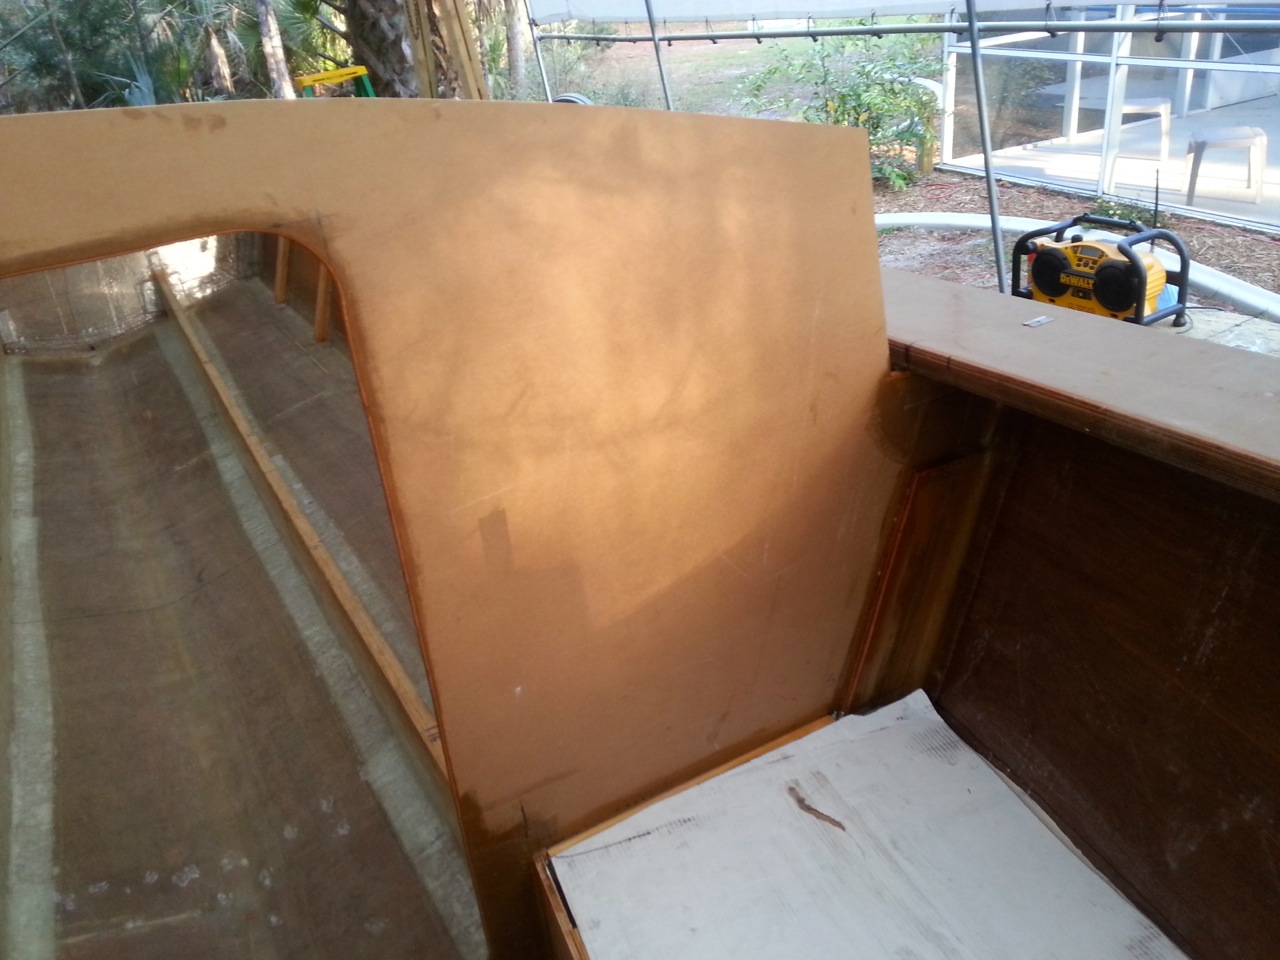
Here I am installing the sheer decks and anchor deck.


Here is a picture of the bow, looking up at the anchor deck.

I have decided that at least for now, I am just going to go with a single, 2" thick gunnel on the fishing deck. If I need to, I will install a bolster cushion of some sort, but right now, it feels pretty good on the thighs.


Here is the sheer decks after glassing and trimming. I just used a flush trim router bit a and flush trimmed on the inside.

I just used a laser level at the correct height to locate the height of the top of the collision locker and bunks, then traced with a Sharpie.

Here is a picture of the collision bulkhead after installing.


I painted the inside of the collision chamber with Glidden Polyurethane Porch paint while the access was easy.


Here is the top of the collision chamber, taped and ready for final epoxy. I decided to use a simple drop in deck plate to allow access for storage in the collision locker.

Here is the fiberglass drain tube i put in at the bottom of the collision chamber.


I also marked out the location of my aft cuddy bulkhead and aft pilot house bulkhead. I will be making the aft cuddy bulkhead tomorrow.
Subscribe to:
Posts (Atom)