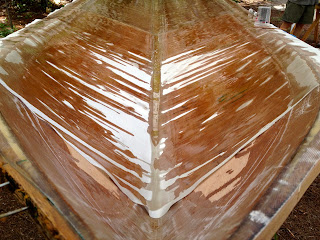
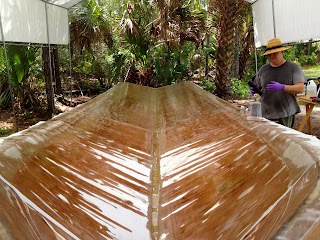
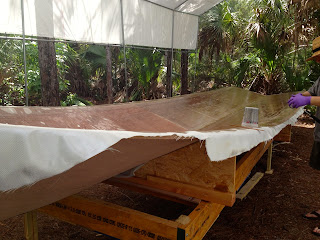
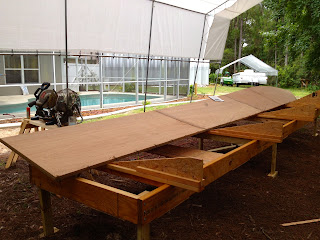
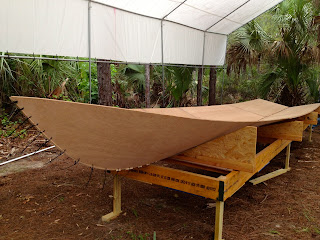
Just a small update. I got the entire inside of the bottom of the boat fiberglassed in with 10 ounce cloth, and few coats of epoxy. Then I had a few friends and family help to flip it over. (Thanks to Todd, Derek, John, Brenda and Tommy!)
Now I am ready to fill and glass the bottom and then jig up the rest of the entire hull. It is so hot!!!! and humid!
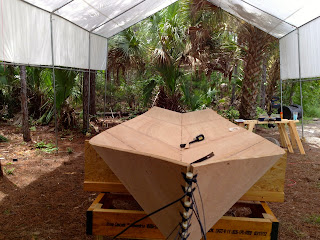
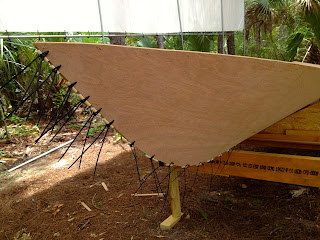
Wood supports clamped on to stiffen and get something to hold on while moving and flipping over!
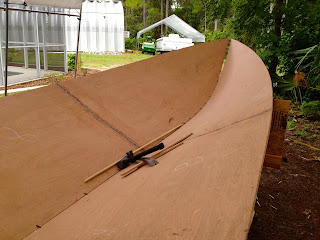
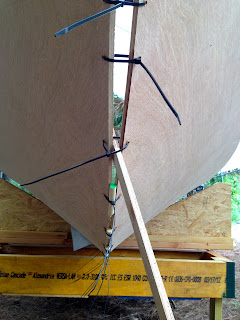
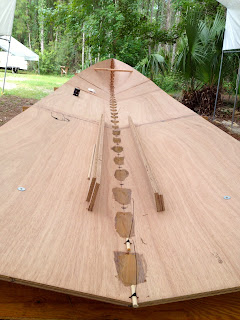
After it was flipped over
Next up, filling the keel seam and finishing the bottom.
Thursday, July 26, 2012
Monday, July 23, 2012
Chine Flats installed and inside bottom fiberglassed
Well, it has been a long past few days. Very hot and raining. Oh well, the boat build goes on. Have to get in the work while I can, going to Connecticut next week.
So, the first order of business was getting the inside the keel seam filled and fiberglassed. This entailed making lots of peanut butter like epoxy filler and smearing it on the inside seam to fill it in, get it smooth and ready for fiberglass. I didnt get any pictures of this, because it was fast and furious work to get it mixed and spread before starting to turn into a meteor in the cup.
This is the after picture, after getting the seam filled with all that epoxy glue!
Thanks to my daughter, she set me up with this sweet pizza cutter and mat that makes cutting the fiberglass a snap!
This biax is tough, thick stuff!
First tape going down.
So after the filling, there was still quite a few flaws that needed to be filled. I just mixed up some plastic wood putty and filled the rest of the flaws with this, so I would not have to wait for the epoxy to dry.
That dried in about 20 minutes, so I just sanded it down smooth with some 80 grit on the orbital sander.
Next up, is fiberglassing the chine / bottom seam. This was similar to the bottom seam, but only needed the 12 oz biaz and 10 oz top for the glass.
The Bow
Here is the bow with the chines installed and the seam taped.
Here is the bottom with the chines installed and all seams taped.
Here I am, very glad to be done filling and taping for the day!
OK, up next is cutting the very front of the chines. All I had to do was follow the dark Sharpie line with the jigsaw. Well, the port side went fine, the starboard was a problem. Near the bow where the chine gets very thin, the jig saw blade went awry and the front of the chine was cut too deep. Oh well, I just epoxied a shim on, and will trim it later.
Finally, it was time to fiberglass the entire bottom with 38 inch wide, 10 ounce cloth. I cut all the sheets in the A/C and rolled them up and had my wife help me lay them out.
After that, it was mixing time. I mixed up around 12 cups of epoxy that were 28 ounces each to get the fiberglass wetted out. Here it is getting close:
Me throwing back a cold one. One of many...
Almost there...
Finally, I got it glassed, and then a nice thick fill coat rolled on. Now it is very smooth and ready to flip over. Tomorrow, I am going to get some help and get this bottom flipped over so I can fill the keel seam. After that, I start building the main hull upside down!
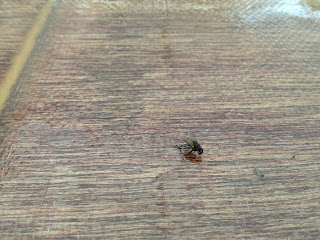
Epoxy makes great fly paper!
Wednesday, July 18, 2012
I have a boat hull !!!
Well today I made a milestone. I got the bottom panels stitched together, and I officially have the beginnings of the boat hull. Right now it looks like the worlds largest canoe.
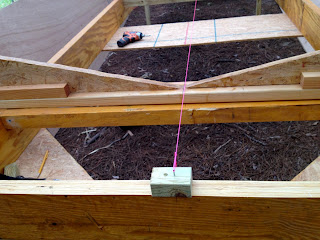
I started out by lining up the molds on the jig and securing them down. I measured and ran a string down the center of the jig and used this to line up the center of the molds.
Then I spent quite a while tightening the wire ties and getting the panels lined up. I put in a spreader board at the front to get the correct critical spacing as specified by the designer. Then I put in some stiffeners in the back to keep the back of the boat flat and true. I inserted some dowels that helped to line the panels up as well.
I started out by lining up the molds on the jig and securing them down. I measured and ran a string down the center of the jig and used this to line up the center of the molds.
That is my oldest son Andy in the background. He is a great son and a great Captain and fisherman himself!
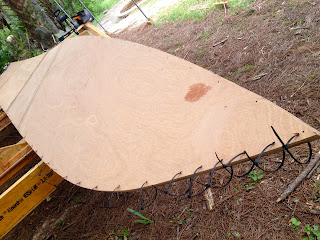
Next up, we put the giant bottom panels on the jig and I started stitching the bottoms together with wire ties. They get stitched right where the keel of the boat is.
Next step is to open the panels up like a giant book. I had Tommy come outside and help me do this. He saw me overthinking this process too much and said "Stop thinking and flip it over for crying out loud, I am hot!" How right he was because in a few seconds, we had the bottom of a boat!
Look, a boat is taking shape!
The last step for today was to connect the panels together semi-permanently by spreading a peanut butter like mixture into the seams between the wire ties. The mixture is epoxy, lots of wood flour (fine sawdust), silica (fine ground quartz) and a teaspoon of microfibers (finely ground fiberglass). This makes for a thick putty that is incredibly strong.
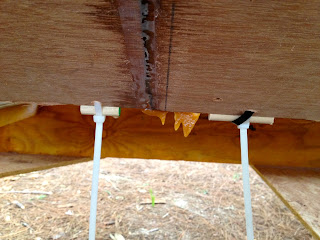
Look, an epoxy icicle! This is the only one that dripped out a little, because I had a little larger gap there that I could not close up, even after getting out the giant wire ties! Close enough!
After this sets up, tomorrow I will remove the tie wraps and start fiberglassing the hull bottom.
Wrapping up a few little things before jigging up
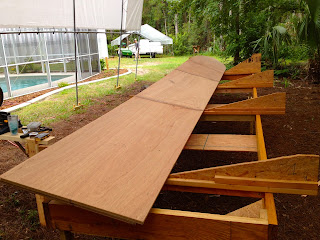
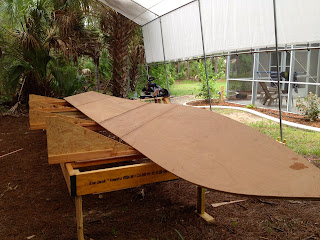
Well the last few days I have been finishing up all the small pieces and getting everything ready to assemble the hull. I cut out the giant bottom panels. First I cut out one panel, then rough cut the second. Next I ran a router with a pattern cutting bit so both panels matched. Finally, I ran a belt sander with that nasty 36 grit belt all the way around to make them smooth and fair. Here is a before and after.
Those panels are right around 30 feet long. Notice the can of insect repellent? The mosquitos are horrible!
Then I made the chine flats. I did not make them according to the Great Alaskan manual, or the Tolman skiff manual. I figured I knew how to make them better. I hope that I was right.....
First I lofted the chine flats out on my shop floor with a sharpie. Then I took my 8 foot long pieces of 3/4 ply that I had ripped down to 14 and 10 inches wide and started laying them out until they covered the lofting. Then I marked them up where they overlapped and cut more scarfs. Cutting scarfs really sucks! I used the dust collector though, and the dust collector on this Harbor Freight planer gets about 99% of the sawdust. Amazing Tool!
I glued up the panels at the scarf joints and then put one of them back into the same location as the boards were aligned originally. Then I re-lofted the lines back onto the wood. I almost missed one of the marks, but it did line up fine.
I cut out the lofted lines with a circular saw, both the inside and outside curves. The saw cut them out perfectly, much smoother and faster than the jigsaw would have. Then I put the first chine I just cut out on top of the other blank and traced the outline slightly larger and cut it out with the circular saw. Finally I matched the two blanks back up and ran the router with the patter bit around again to get a perfect match.
I have never read about anyone using this idea, but it does seem to yield a nice part. If you spend your time making the first part really smooth and fair, then rough out the second, then follow with a router bit, it seems to save a lot of time from having to try to smooth and sand two thicker blanks that are screwed together. To rough out the second I just screwed the first part on top of the second, then used a sharpie to trace the line, the cut the part out slightly outside the line. This yielded about 3/32" for the router to trim off. This was a hell of a lot faster than trying to belt sand the two parts together.
OK, now I have made the stem, the two bottom panels, the two chines, the two shelves and the transom. Also I have the jig and the molds ready. Guess what...now it is time to put the pieces together and make a boat hull!
Subscribe to:
Posts (Atom)


